Part 1. Planning and technical lead
"Do not approve a patch just because the address numbers match. Confirm fixture modes, occupied ranges and the final saved file before handover."
- Distinguish console channels from DMX start addresses: A console channel and a fixture’s DMX start address are different concepts. Matching address numbers alone do not establish that the lighting patch is complete.
- Recheck substituted fixtures and reused show files: If a fixture is substituted or a previous show file is reused, do not carry forward its old settings without review. Obtain the revised patch and output-check results for the actual fixtures and modes brought to the event.
- Reserve a controlled work window: Make patch changes and check occupied ranges during the controlled rehearsal window and output conditions agreed by the operator. Do not make ad hoc changes during the event while the audience is present.
- Confirm the final show-file version and save time: Check the filename and last save time for the show file containing the final fixture locations, modes, address ranges and output-check results, so that an outdated list or file is not handed over.
- Keep safety checks separate: A patch check matches DMX control signals; it does not establish that electrical loads, truss rigging loads or other installation safety conditions have been checked.
Part 2. Lighting director and patch lead
"Match DMX mode and personality before assigning addresses. Compare spacing and footprint to find unintended overlaps."
- Match the actual fixture setting with the console personality: The personality defining the fixture’s functions must match its manufacturer and model. For fixtures with multiple DMX modes, compare the mode on the fixture, the manufacturer’s channel chart and the console patch list.
- Do not reuse an earlier fixture’s settings merely because the connector matches: Do not estimate occupied addresses from the model name alone or apply one channel count to every fixture.
- Compare footprint and spacing to check overlaps: In ETC ColorSource’s Add Device settings, check footprint, the number of addresses the fixture occupies, against spacing, the interval between start addresses when adding consecutive fixtures. Spacing smaller than the footprint causes overlap and can produce unexpected behaviour; confirm whether any sharing is intentional.
- Compare occupied addresses by signal path: Record the address range for each fixture’s actual mode and compare neighbouring fixtures on the same DMX universe and signal path. Different physical ports can output the same universe, so verify the actual mapping and universe address boundary rather than assuming separate ports always carry independent signals.
- Recheck subsequent addresses after a mode change: Changing a fixture’s mode or personality can change its occupied range. Check the following fixtures’ start addresses as well as the changed fixture for unintended overlaps.
| Item | What to compare | What to record |
|---|---|---|
| Console channel | Which fixture the console control operates | Channel number and fixture location |
| Personality and mode | Whether the profile matches the actual fixture and its DMX mode | Make, type and selected mode |
| DMX address | Whether the start address matches the fixture on that output | Output identifier and start address |
| Footprint and spacing | Whether overlaps are intentional and spacing is appropriate | Occupied address range and the next fixture’s start address |
Scroll sideways if needed to read every column.
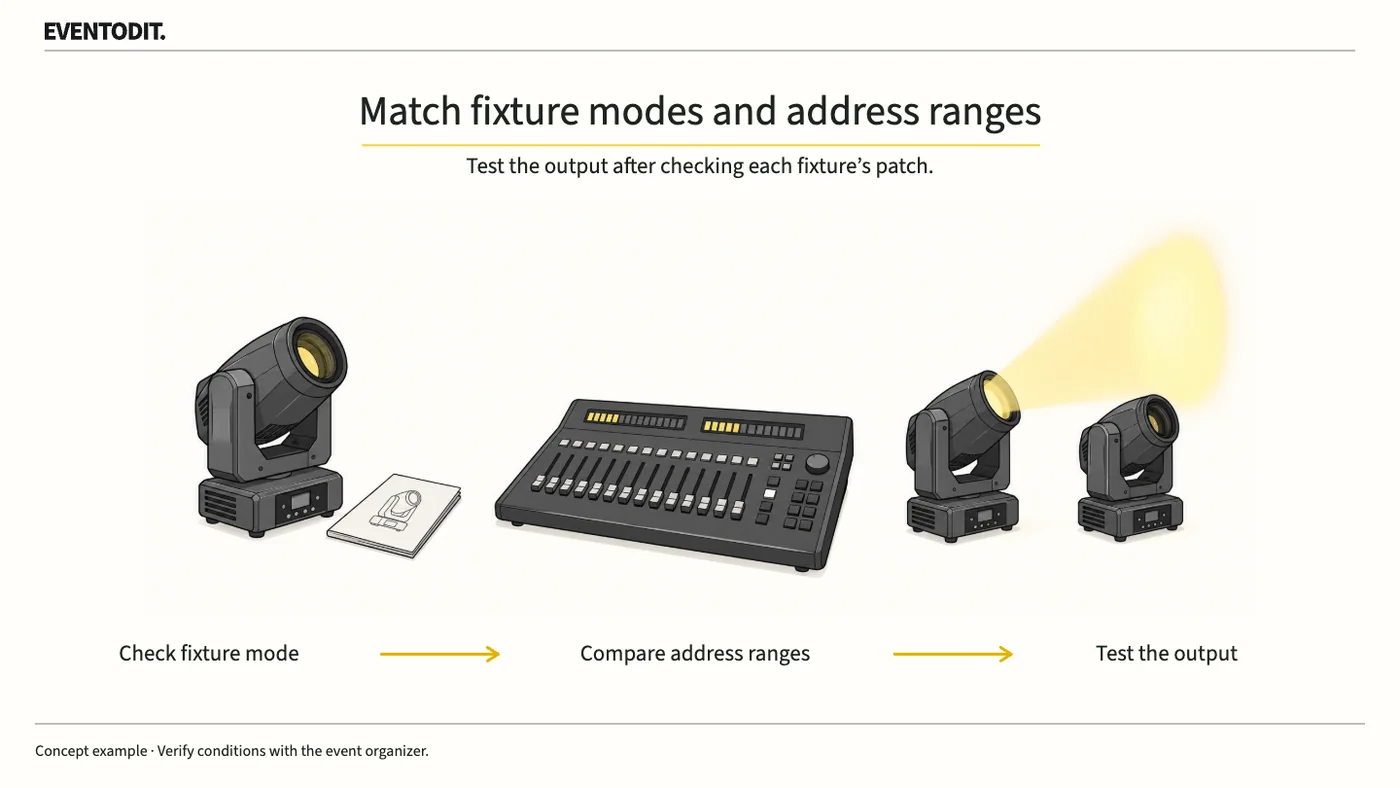
- Confirm the fixture modeCompare the actual setting with the manufacturer’s channel chart.
- Correct the patchCompare personality, start address and occupied range.
- Check output and saveThe operator checks the response and retains the final file.
Work at the time and under the output conditions agreed by the lighting operator.
Part 3. Lighting operator and on-site checks
"Do not stop at the list. Check the actual output and record neighbouring-fixture behaviour and software versions."
- Follow the patch-check sequence: Match the fixture setting to the manufacturer’s chart, correct the personality, start address and occupied range, then have the operator test the response and save the final file.
- Check intended responses and neighbouring fixtures: Confirm that the intended fixture and function respond to the console, while also watching for unintended movement or illumination on neighbouring fixtures caused by overlapping addresses or signal interference.
- Record console software and library versions: Record the console software and personality-library versions shown under Settings > General on ETC ColorSource. Retain the fixture manuals and channel charts used for the comparison.
- Maintain and hand over the check record: Record fixture location, functions checked, output results, unresolved faults and the final show-file name together, then hand the record to the next operator.
Use the original records and supporting templates
Use the console-exported patch list and final show file as the authoritative register. Retain device IDs/positions, actual models/modes, universe/output mapping, start addresses/footprints, manufacturer channel charts and software/library versions. The [technical rehearsal failover checklist](/en/templates/rehearsal-failover.html) can support controlled output and adjacent-device interference tests, corrective action, retests and confirmation for use. Reference device IDs and the console-list version rather than creating a second handwritten patch register. Record final save time and the recipient.
Final check before use: Before rehearsal and the event, confirm that fixture mode, console personality, occupied address ranges, spacing and the actual output-check results have all been recorded.
Conditions for applying this elsewhere
Based on ETC ColorSource’s public help. Obtain the manufacturer’s channel chart for the actual fixture mode and work under the responsible operator’s agreed timing and output conditions.
Information not established
Individual supplied fixtures, installation conditions and other consoles’ menus or behavior were not checked. Electrical and rigging inspections are outside scope.
Reference material
- ETC ColorSource — Patch: channel/address mapping and personality/mode matching
- ETC ColorSource — Add Device: footprint, spacing and address overlaps
- ETC ColorSource — Settings General: software and personality-library versions
- ETC Mosaic · Port and DMX universe mapping example
- Martin · ERA 700 Performance IP user manual · shared fixture addresses
After reading, complete the next task
Fixture locations, channels, modes, address ranges, versions, output-check results and the final show-file name
Related templates
Technical Rehearsal Backup-switch Test Log
Backup-switch results by cue, including routes on hold and retest evidence.
Use this for: Connect the main and backup equipment to the actual show outputs once final media is ready. Retest affected routes after a file or connection changes.
Instructions, examples & downloadsRelated practical guides
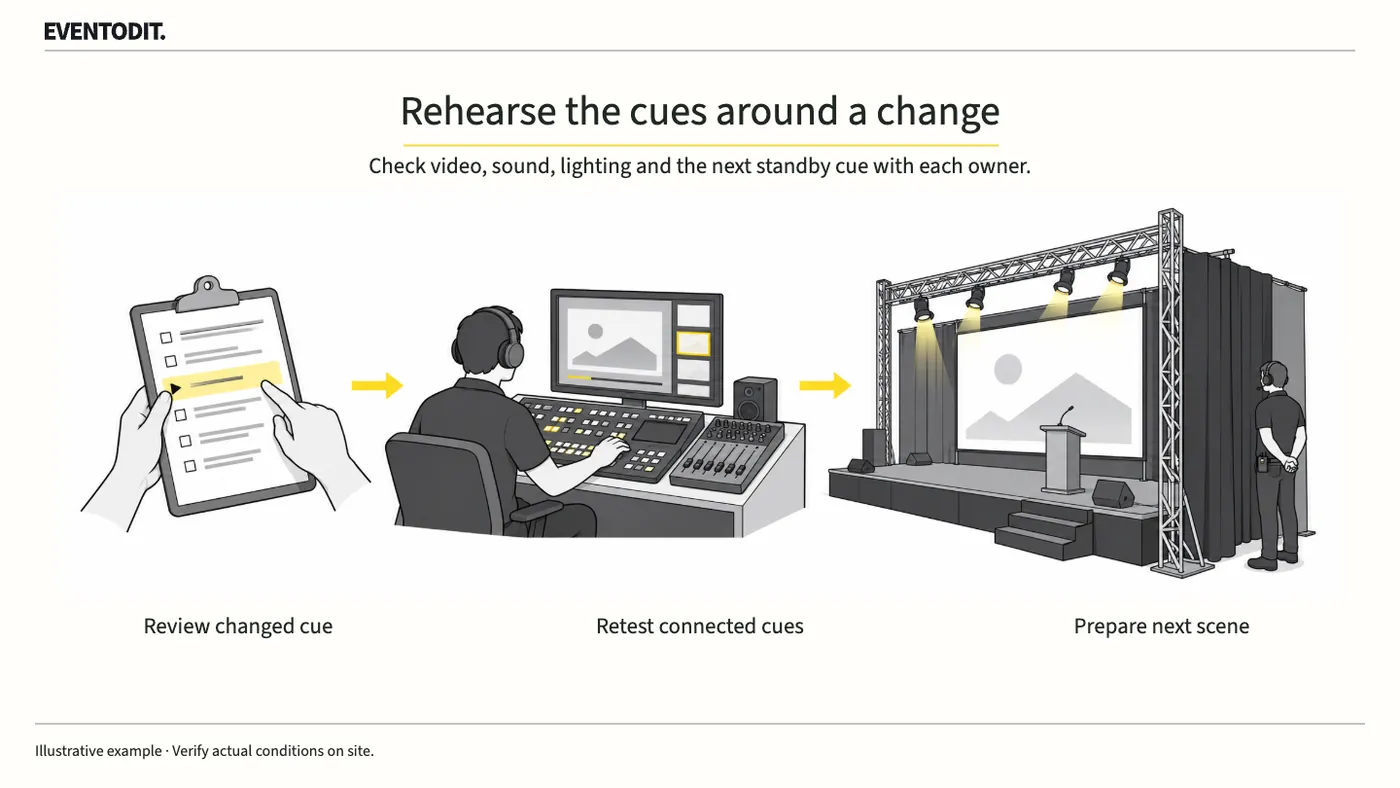
Event Cue Sheet Changes and Reapproval
Changing a video’s length or a performer’s order can affect sound, lighting and standby calls. Ask the affected teams to check, rehearse the transitions around the revised scene, then distribute the approved cue sheet.
Read guideHave a correction or additional evidence? Request a correction